Transform Your Space: DIY Chandelier Installation Tips and Tricks
BO
Why Install a DIY Chandelier?
Transforming your home’s interior can be as simple as installing a chandelier. This elegant lighting fixture not only illuminates your space but also serves as a striking focal point, adding a touch of sophistication to any room. Whether you're refreshing your dining area or adding flair to your foyer, a chandelier can make a significant impact.
Choosing to install a chandelier yourself can be both cost-effective and rewarding. With the right tools and guidance, you can achieve a professional look without breaking the bank. Plus, the satisfaction of completing a DIY project is unparalleled.
Choosing the Right Chandelier
Before you begin the installation process, selecting the right chandelier for your space is crucial. Consider the room's size, ceiling height, and overall decor style to ensure the chandelier complements your existing design. Measure the area where you plan to install the fixture to find a chandelier that fits proportionally.
Moreover, think about the light's function—do you need it for ambient lighting, or is it more of an accent piece? This will help you narrow down your choices and find the perfect chandelier for your needs.
Types of Chandeliers
- Crystal chandeliers: Ideal for formal spaces, these offer a luxurious touch.
- Modern chandeliers: Sleek and minimal, perfect for contemporary settings.
- Rustic chandeliers: Great for adding warmth to rustic or farmhouse interiors.

Gathering Your Tools and Materials
Once you've selected your chandelier, it's time to gather the necessary tools and materials. Here’s a checklist to get you started:
- Screwdriver set
- Wire strippers
- Circuit tester
- Ladder or step stool
- Electrical tape
- Safety goggles and gloves
Having these items on hand will ensure a smooth installation process and help you avoid unnecessary trips to the hardware store.
Safety First!
Before beginning any electrical work, ensure that the power is turned off at the circuit breaker. This step is vital for preventing accidents and ensuring your safety during installation.

Installation Process
With your tools ready and safety precautions in place, you're prepared to start installing your chandelier. Follow these steps for a successful installation:
- Remove the old fixture: Carefully detach the existing light fixture from the ceiling, ensuring all wires are disconnected.
- Attach the mounting bracket: Secure the mounting bracket included with your chandelier to the electrical box in the ceiling.
- Connect the wires: Match the fixture's wires with the corresponding wires in your ceiling (typically black to black, white to white), and secure them with wire connectors.
- Secure the chandelier: Attach the chandelier to the mounting bracket, ensuring it is stable and properly aligned.
- Restore power: Once everything is secure, switch the power back on and test your new chandelier.
Final Touches
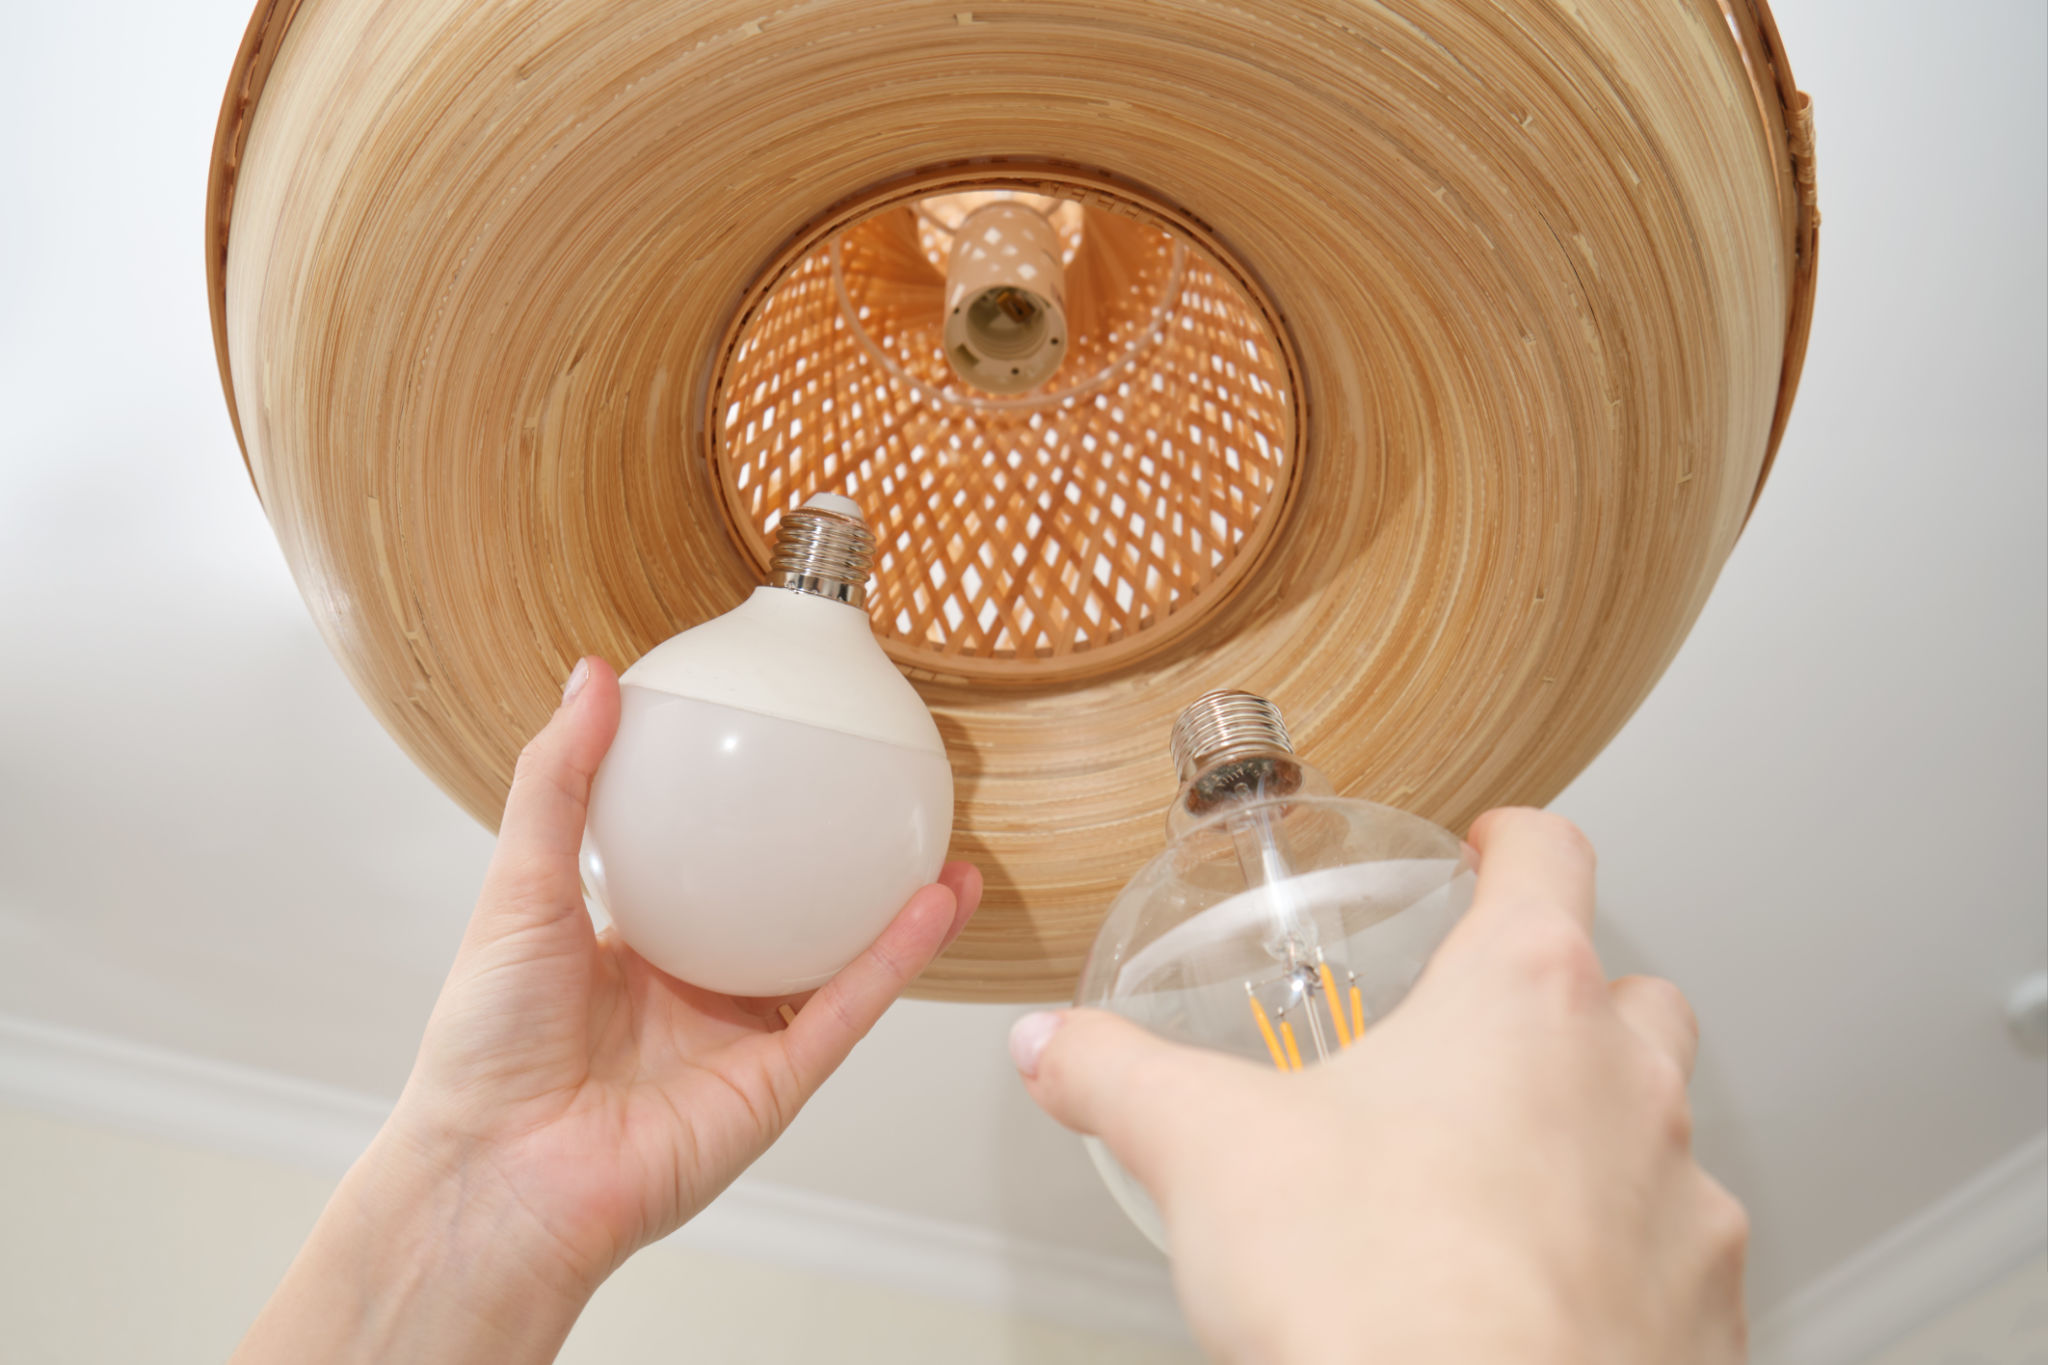
After successfully installing your chandelier, take a moment to adjust any elements for symmetry and balance. Ensure that all bulbs are securely in place and that any decorative pieces are correctly positioned. These final touches will enhance the overall aesthetic of your new lighting feature.
A DIY chandelier installation can transform your space into a stunning display of style and elegance. By following these tips and tricks, you’ll enjoy both the beauty of your new fixture and the pride of completing a project yourself.